

How To Change The Shift Knob On Chevrolet Camaro 2014
Shift boot installation
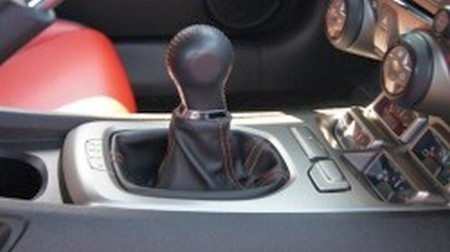
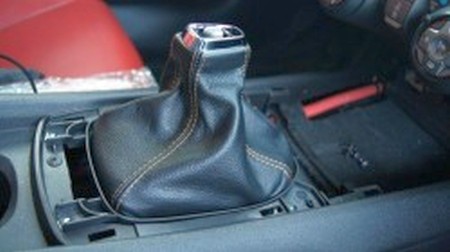
1. Prototype of stock boot.
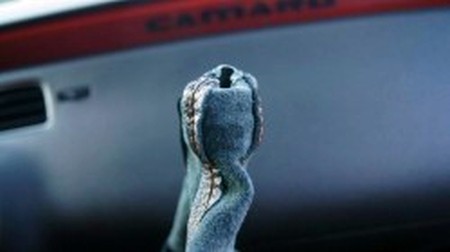
ii. Elevator the shift knob from the shifter. It takes some force but volition popular off, gently rocking the knob every bit you elevator will assist.
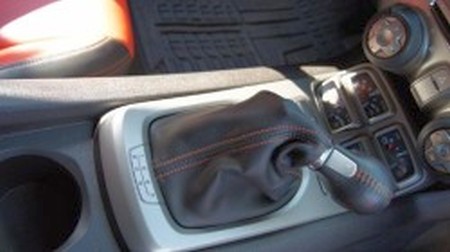
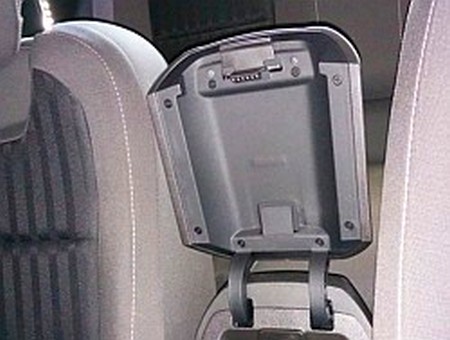
3. Remove the shift knob from the silver cap on summit of the kick. Every bit with step 2, it takes some force only will come up off.
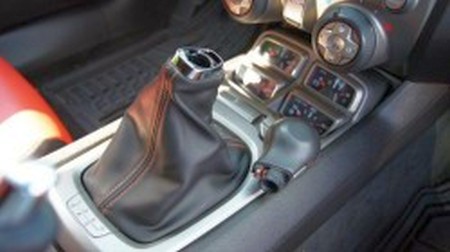
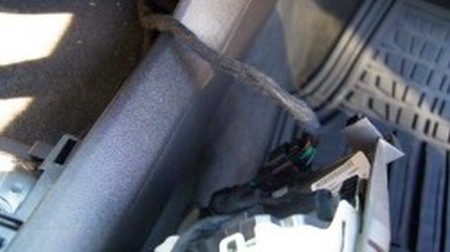
4. Lift the top of the center console. It's piece of cake to separate and lift with blank fingers. A trim removal tool or a very small flathead screwdriver may too exist used.
v. At that place is no need to disconnect the wire that attaches the console and gauge cluster. At that place is enough slack to set it aside and continue with this project.
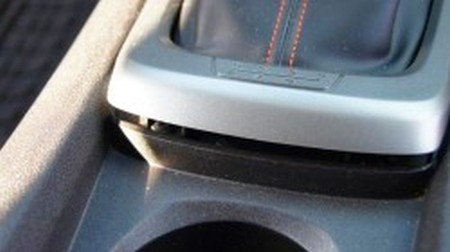
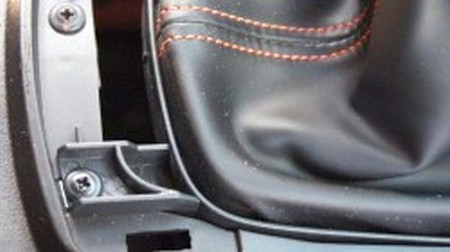
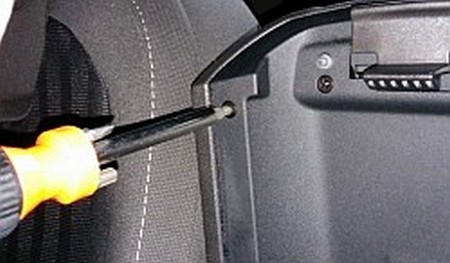
6. At that place are 4 screws holding the shift boot in place. Using a #two Philips caput screwdriver, extract the 4 screws. Be certain to only excerpt the screws holding the boot on the outside edges.
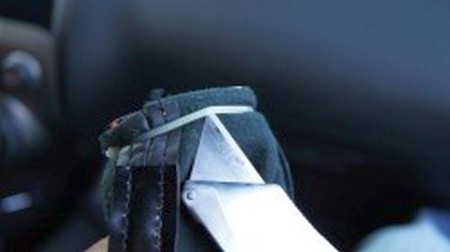
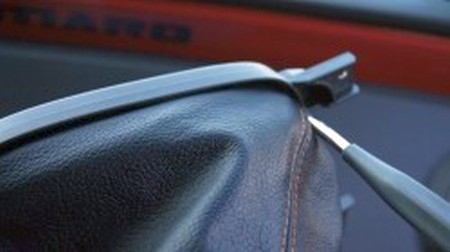
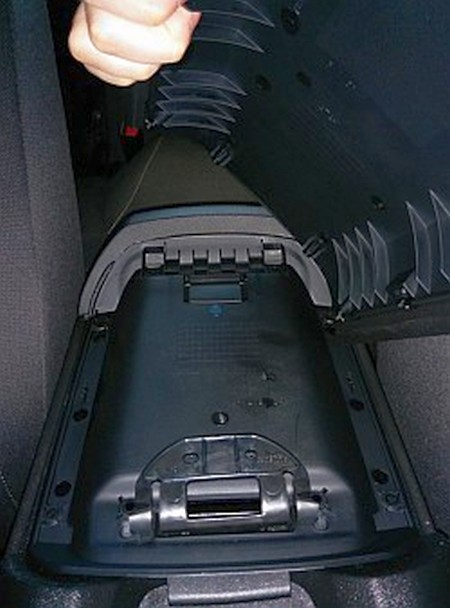
vii. The boot now lifts easily off with the attached servant band.
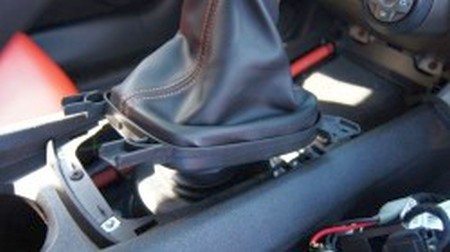
eight. Under the retaining band, you lot'll come across holes where fabric from the kicking is pushed through. In that location are small teeth in each of these holes keeping the material in place. A good tug will free the cloth from the teeth. Y'all can also use a small flathead to carefully button the material through if desired.
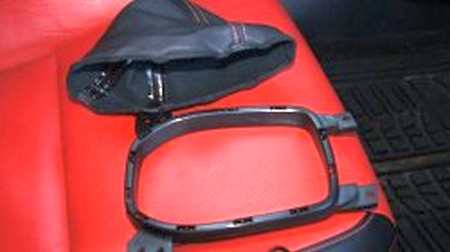
nine. Once complete, yous'll have the boot and the plastic retaining ring separated.
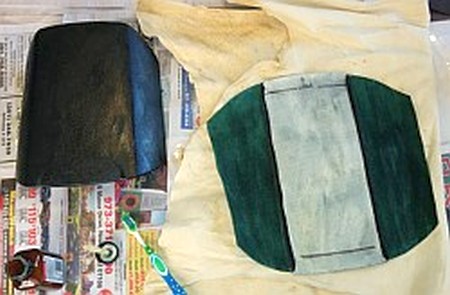
ten. Plow the kick inside out. At that place is a zip-tie keeping the material tight around the sliver cap at the acme. This will need to be cut.

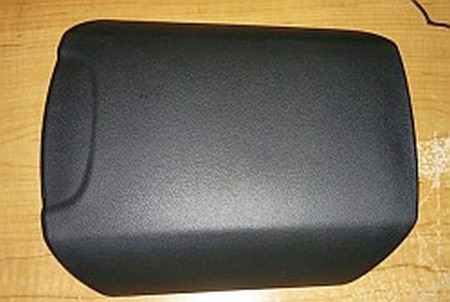
11. Retrieve the silver cap and you're now finished with the stock boot, set it aside. The residue of the installation is the reverse of the previous steps using the new boot in place of the stock one.
12. Insert the silvery cap into the new boot. Make certain that you slide the silverish cap into the new kick upside down! This will exist much tighter in the new shift boot as the opening is non as wide on the new ane. Work it in as far as possible, it will not go all of the way to the peak.
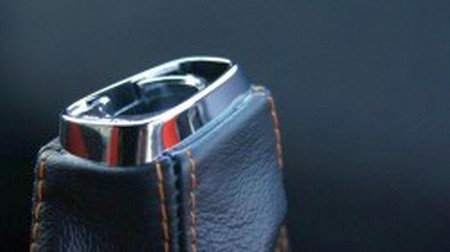
xiii. Turn the new boot exterior out. Be sure that you lot are satisfied with the position of your cap. It'south tight plenty where a new zip-tie is not needed to keep information technology in identify though yous tin always add ane if so desired.
14. Create a small fold at the bottom of the boot and align it with the retaining ring. Pay attention to the direction of your silver cap. The forepart (the side with the slot in front of the circle) should be facing the front of the band. The front is the side with the screw holes wider apart. Once you're certain you're aligned properly, push the folded material into the holes with the small teeth on the ring. There is plenty of leather for slack so be certain to make a good fold for the teeth to catch.
15. Utilise a small flathead screwdriver to push button the leather into the teeth on the plastic band.
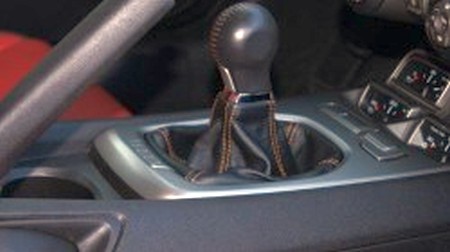
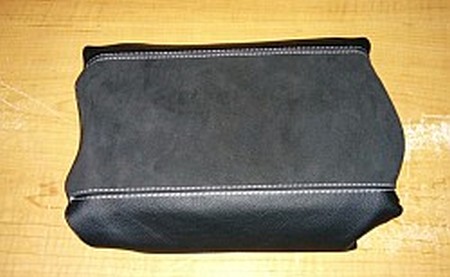
xvi. Place the ring back in place and screw it down.
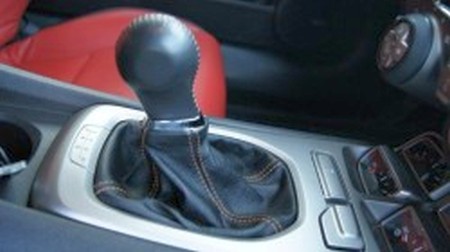
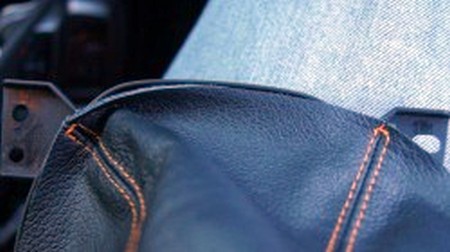
17. Replace the heart trim, put the knob back on the shifter and enjoy your beautiful new leather boot!
Center armrest encompass installation
1. Open the arm rest compartment and locate the 8 retaining screws.
2. Remove the 8 retaining screws from the arm residuum.
three. Remove the top section of the arm residual cover from the console. If all the screws have been removed, the piece should come right off without having to utilize any forcefulness.
four. Thoroughly clean the surface of your arm residuum earlier applying whatever adhesive. If your original cover already has a leather wrap, it will have to be removed earlier any other step is taken.
five. Once all the measurements take been confirmed, employ adhesive to both the arm balance and the leather. I used Weldwood contact cement to achieve a potent bail.

6. Adhere the leather to the arm rest, starting from the center and working your fashion outward towards the sides of the arm residuum.
7. Once the leather has been completely wrapped around the arm rest and the adhesive has fully dried, install the arm remainder dorsum on vehicle past repeating steps 3 through i.
The final effect should wait something like this.
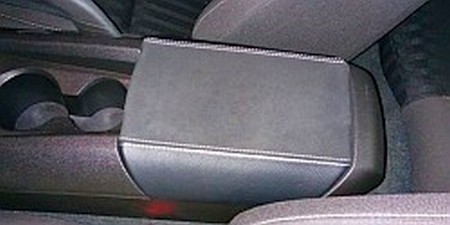
ENJOY YOUR NEW LEATHERS!
Useful tip
Yous take installed a product fabricated out of 18-carat leather. As you know, to maintain a leather production in good condition, you should take care of it. We suggest occasionally (every iv-6 week for example) applying some leather conditioner/UV protector to keep your leather from drying up in the sunday and corking.
Redline Automotive Accessories Corp. will not be held liable for whatever labor, incidental or consequential damages of any kind. Go along at your ain take a chance.
Source: https://www.redlinegoods.com/Camaro10install.php
Posted by: phillipsnobjess76.blogspot.com
0 Response to "How To Change The Shift Knob On Chevrolet Camaro 2014"
Post a Comment